

Key Takeaways
Option A
Grout
The rigid filler that locks tile in place.
Best for: Filling the uniform gaps between tiles on walls, floors, and backsplashes where surfaces move as one unit.
Option B
Caulk
The flexible sealant that bridges moving joints.
Best for: Sealing corners, changes in plane, and any joint where two different surfaces meet and may shift slightly.
If you are tiling a shower floor or wall field
Grout
Grout fills consistent, evenly spaced gaps between tiles that sit on the same rigid substrate and do not flex relative to each other.
If you are sealing the joint where a tub meets the tile wall
Caulk
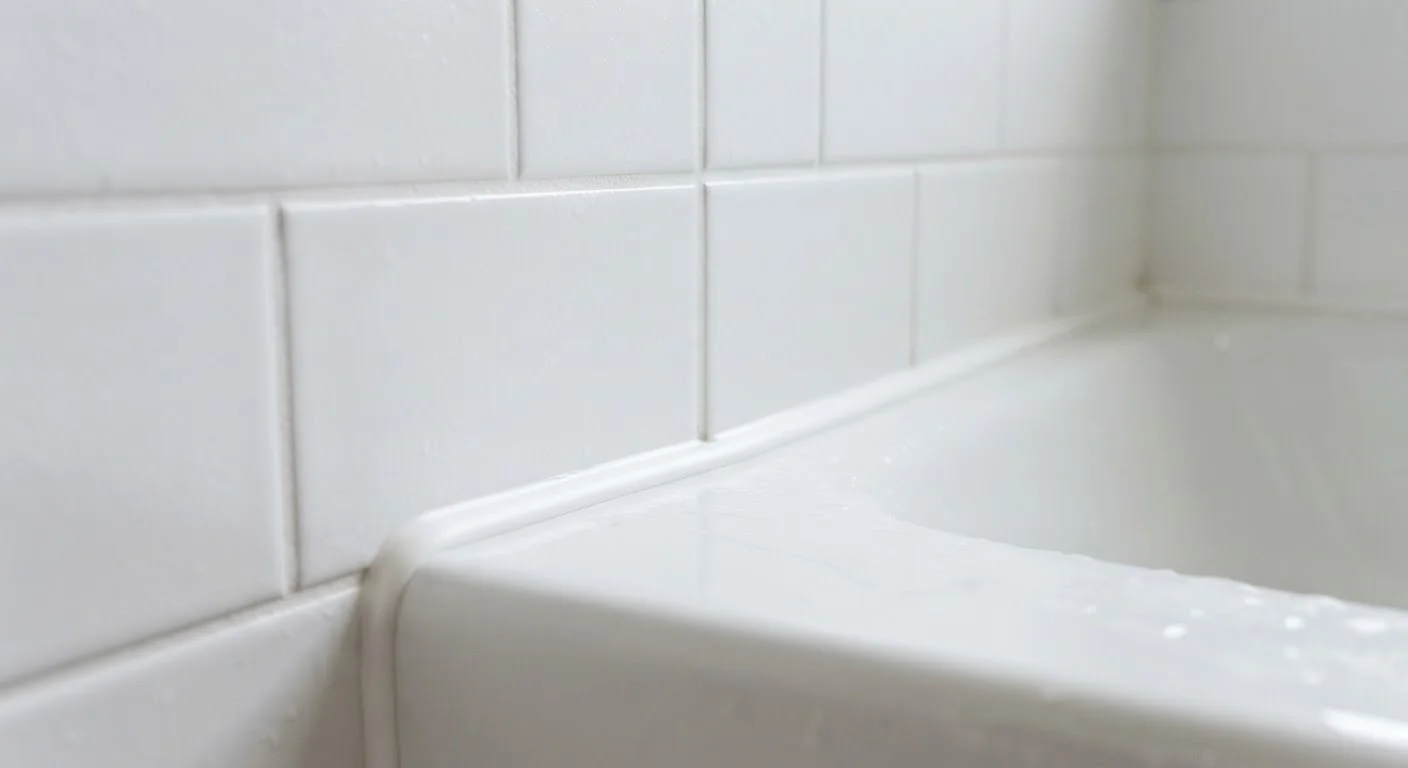
A bathtub shifts slightly under weight and temperature changes. Only a flexible sealant can absorb that movement without cracking.
If you are finishing inside corners in a tiled shower
Caulk
Inside corners are change-of-plane joints. Grout applied there will crack as the two walls move independently.
If you are repairing a bathroom on a tight budget
Caulk
A tube of tub-and-tile caulk typically costs a few dollars and prevents water intrusion that could otherwise cause expensive subfloor or wall damage.
Why the distinction matters
Water is the primary threat inside any bathroom, and the wrong sealant in the wrong place is an open invitation for it to get behind your tile. Grout is a cement-based material that cures hard. Caulk is a polymer-based compound that stays pliable after it cures. That difference in flexibility is what determines where each material belongs, and ignoring it leads to cracked joints, mold growth, and eventually damaged substrate or subfloor.
The good news is that the rule is simple: same plane, same surface, rigid joint gets grout. Change of plane, change of material, or any joint that absorbs movement gets caulk.
| Criterion | Grout | Caulk |
|---|---|---|
| Material composition | Cement-based (or epoxy) | Silicone or latex polymer |
| Flexibility after curing | Rigid | Flexible and elastic |
| Primary location | Between tiles on same plane | Corners and change-of-surface joints |
| Water resistance | Moderate (sealer improves it) | High, especially silicone |
| Failure mode if misused | Cracks at moving joints | Too soft for grout lines, collects dirt |
| Typical DIY cost | Several dollars per pound | A few dollars per tube |
| Cleanup | Water and sponge before cure | Water (latex) or mineral spirits (silicone) |
Where grout belongs
Grout fills the gaps between tiles that share the same rigid backing. On a properly installed tile floor, all tiles are bonded to the same substrate with thinset mortar. When that substrate expands or contracts, every tile moves together. Grout handles that unified movement without cracking because the stress is distributed evenly across the entire assembly.
Common grout locations in a bathroom include the field of a shower wall, the floor tile field, and a backsplash where tiles run across a single uninterrupted surface. In these areas, grout also locks tiles in alignment and prevents edge chipping from foot traffic or cleaning tools catching the tile edge.
Unsanded grout is typically used for joints narrower than 1/8 inch, and sanded grout for joints 1/8 inch or wider. Wider joints in sanded grout resist shrinkage cracking better than unsanded would in the same space. Epoxy grout is an option for areas with heavy moisture or staining potential, though it is harder to work with and generally costs more than cement-based grout.
Where caulk belongs
Any joint where two different surfaces meet, or where the same surface changes direction, needs caulk. In a standard bathroom, that means:
- The perimeter joint where tile meets the bathtub or shower pan
- Inside corners where two tiled walls meet
- The joint where tile meets a countertop or vanity top
- Where tile transitions to a wood threshold or door frame
A bathtub, for example, can move several millimeters when filled with water and a person. That movement would crack grout within a single season. Caulk stretches and compresses with the joint, maintaining a continuous waterproof barrier. Silicone caulk is the standard choice for these wet locations because it does not absorb water and resists mold better than latex formulations. Latex caulk is easier to tool and clean up with water, but it is less durable in continuously wet environments.
When re-caulking an existing joint, remove all old caulk completely before applying the new bead. Caulk applied over old caulk does not bond well and will peel earlier than a fresh application.
Applying each material correctly
For grout, mix the powder to a peanut butter consistency and work it into joints with a rubber float held at a 45-degree angle. Remove excess with a damp sponge before it fully sets. Allow grout to cure for the time specified on the packaging before exposing the surface to water. Sealing cement-based grout with a penetrating sealer after curing reduces staining and moisture absorption in high-use areas.
For caulk, cut the tube tip at a slight angle to match your joint width, and apply steady, even pressure while pulling the tube along the joint in one continuous motion. Wet your fingertip or use a caulk-smoothing tool to press the bead into the joint and create a concave profile. A concave bead sheds water rather than collecting it. Wipe away excess with a damp cloth before the caulk skins over, which typically happens within 10 to 30 minutes depending on the product.
This article is for general informational purposes only. Work involving structural, plumbing, or electrical elements may require permits or a licensed professional. Verify local building code requirements before beginning any home improvement project.