

Key Takeaways
Why small gaps cost real money
A window that looks perfectly fine from across the room can still leak substantial air through its frame joints and the gap between the sash and the stop. Add up a few of those windows, a poorly sealed exterior door, and some uninsulated outlets on an outside wall, and the combined loss is enough to keep your heating system running longer than it should.
The U.S. Department of Energy has noted that air leaks and drafts are among the most common sources of energy waste in American homes. Unlike replacing windows or adding insulation, sealing leaks with caulk and weatherstripping costs very little and does not require a contractor. This project fits naturally into the kind of seasonal upkeep described in the seasonal home maintenance calendar that helps families stay ahead of repair costs.
The savings from sealing drafts vary by home size, climate, and how leaky the building was before, so no specific dollar figure can be promised. What is reliable is that sealed gaps reduce the amount of conditioned air you are paying to heat or cool that escapes before you benefit from it.
Test on a cold, windy day for clearest results
Air leaks are much easier to feel and see when outdoor temperatures are significantly lower than indoors and wind is present. Plan your leak-detection walk-around for a cold day before you purchase materials, so you buy only what you actually need.
Choosing the right materials
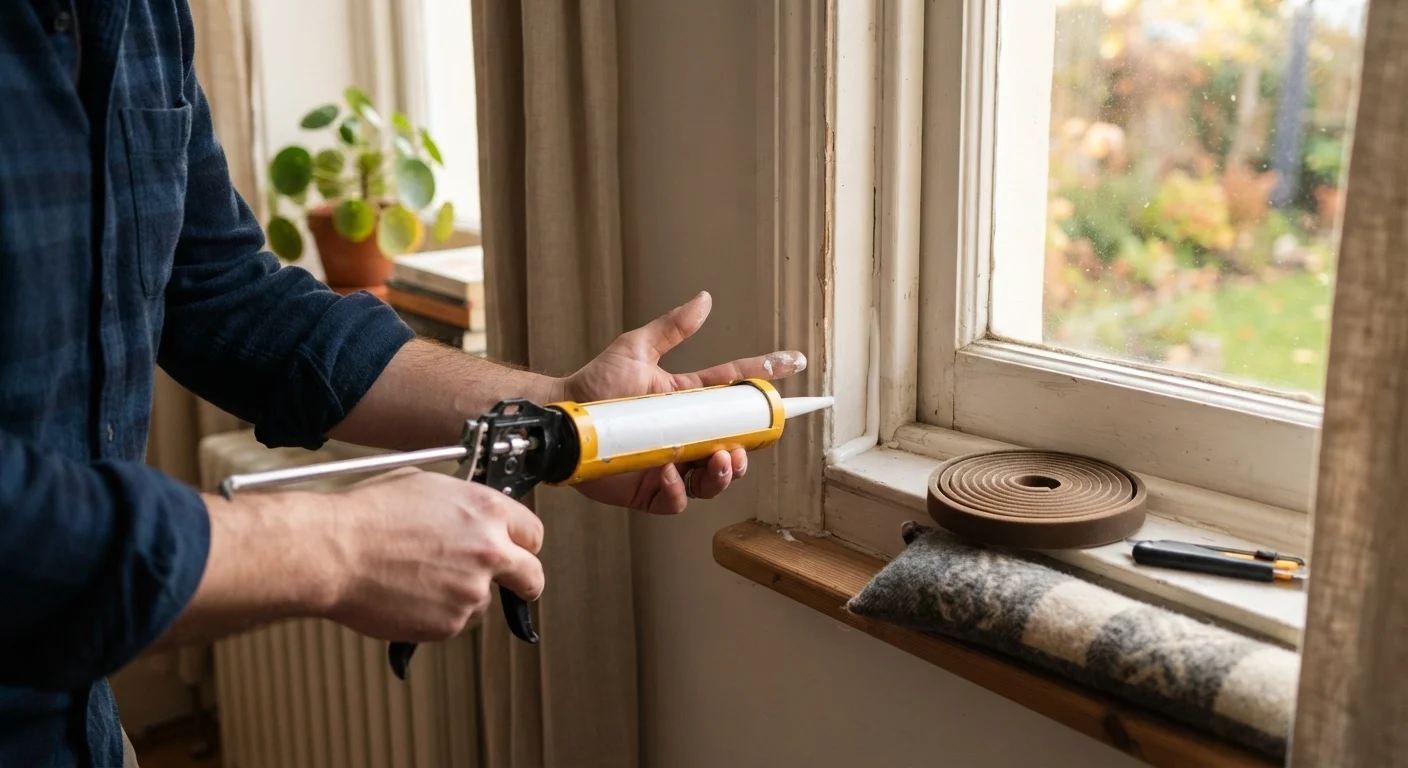
Not every gap calls for the same solution. Caulk is a sealant for stationary joints: the line where a window frame meets siding, where door trim meets an interior wall, or where a baseboard meets an exterior wall. It cannot flex repeatedly without cracking, so it does not belong on a moving surface.
Weatherstripping is for moving surfaces: door edges, window sashes, and the bottom rail of a sliding door. It compresses and releases every time the door or window operates, so it needs to be durable enough to handle that cycle.
Draft stoppers work at door bottoms and require no adhesive or fasteners, making them the most accessible starting point for renters or anyone who wants to avoid permanent changes.
Utility knife or putty knife
Removes old, cracked caulk from window and door frames before applying a fresh bead.
Caulk gun
Holds a standard caulk tube and gives controlled, even application along gaps.
Paintable latex or silicone caulk
Fills stationary gaps around window frames, door frames, and where trim meets the wall.
Foam weatherstripping tape
Compresses to seal the gap between a moving door or window sash and its frame.
V-strip (tension seal) weatherstripping
Fits inside door or window channels for a more durable seal on high-use openings.
Door sweep or draft stopper
Blocks cold air entering at the bottom gap of exterior doors.
Candle or incense stick
Smoke or flame movement helps identify the exact location of air leaks.
Painter's tape
Keeps caulk lines straight along trim edges for a clean finish.
These sealing costs fit into the same mindset as tracking the hidden costs inside a household budget: small, recurring losses add up, and small, one-time fixes can stop them.
Do not caulk areas near gas appliances or vents
Sealing around gas furnace flues, water heater vents, or combustion air intakes can restrict airflow and create dangerous conditions. Leave those areas to a licensed HVAC technician. If you are unsure whether a gap is near a combustion appliance, check with a professional before sealing.
After sealing: checking your work
Once materials have cured (most latex caulks need at least 24 hours; silicone takes longer), repeat the candle or hand test at each location you treated. A flame that holds steady and smoke that rises straight indicates the gap is sealed. Check weatherstripped doors again with the paper test described in step 4.
If you find a spot still leaking, apply a second bead of caulk or add a thicker weatherstripping material. Most gaps can be fully sealed in one session, but hard-to-reach areas around older window frames sometimes need two passes.
Budget-conscious maintenance rarely stops at one project. Once your drafts are addressed, consider what other small-cost improvements can improve daily comfort without a large outlay, such as the low-cost curb appeal updates that take a weekend and modest materials.
This article is for general informational purposes only. Conditions vary by home, region, and construction type. Consult a licensed contractor or energy auditor for guidance specific to your home. Check local building codes and permit requirements before undertaking any structural or mechanical work.