

Key Takeaways
What qualifies as a DIY-safe repair
Not every home repair requires a contractor, but not every repair is safe to attempt without one either. The clearest way to sort them is by risk category: cosmetic and surface-level fixes sit at one end, while anything touching electrical panels, gas lines, or load-bearing structure sits firmly at the other.
Repairs that are generally DIY-safe share a few traits. The consequences of a mistake are visible and correctable before they cause secondary damage. No permit is typically required. The task does not involve systems where failure could injure someone or void a homeowner's insurance policy. Common examples include patching small holes in drywall, replacing a worn door sweep, recaulking a bathtub, fixing a running toilet, swapping a light switch or outlet cover (where no wiring is extended or altered), and rehanging a cabinet door.
Repairs that fall outside DIY territory for most homeowners include anything involving the main electrical panel, gas appliances, roof flashing, foundation cracks wider than a hairline, load-bearing walls, and main water line connections. Electrical work in particular carries hidden costs and risks that go well beyond the repair itself, including failed inspections and voided insurance coverage.
Start with the simplest diagnosis
Before buying parts or opening walls, spend five minutes observing the problem carefully. Many running toilets, squeaky hinges, and drafty doors have one obvious cause that a close look reveals. Diagnosing correctly the first time avoids unnecessary purchases and extra work.
What you need before you start
A modest set of tools covers the vast majority of weekend repairs. Most households can handle small drywall patches, minor plumbing fixes, and weatherstripping replacement with the items listed below. Buying quality versions of a few core tools is more useful than accumulating a large collection of cheap ones.
Putty knife set (4-inch and 6-inch)
Applies and smooths joint compound for drywall patches.
Non-contact voltage tester
Confirms that wires near a repair area carry no live current before you work.
Utility knife
Cuts mesh patches, removes old caulk, and trims materials to fit.
Adjustable pliers
Loosens and tightens supply line fittings during toilet or faucet repairs.
Caulk gun
Applies a controlled, even bead of caulk around tubs, windows, and door frames.
Cordless drill with bits
Drives screws for door sweeps, cabinet hardware, and similar fastening tasks.
Before starting any plumbing repair, locate the shut-off valve for that fixture or, if there is none, the main water shut-off for the house. Write its location on a sticky note inside a cabinet near the work area. This one step prevents a lot of water damage.
What you will need
Step-by-step: common weekend repairs
The steps below walk through four of the most common small repairs homeowners tackle. Each is independent; follow only the section that matches your task. For a broader view of how small repairs fit into an annual maintenance rhythm, see the seasonal home maintenance calendar that covers the full year.
Patch a small drywall hole
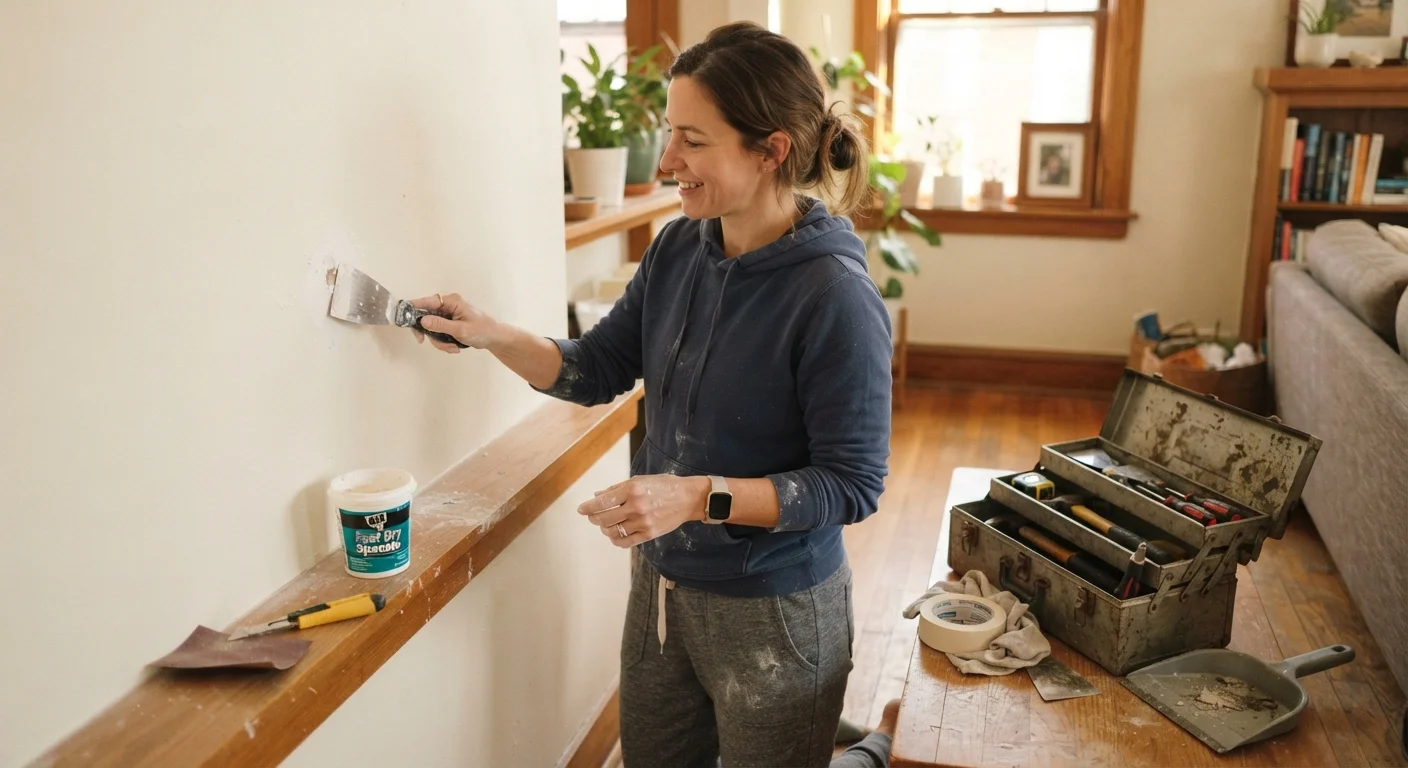
For holes up to about three inches across, use a self-adhesive mesh patch kit. Clean loose debris from the edges of the hole, press the mesh patch flat over it, then apply joint compound (sometimes called mud) in thin coats with a 6-inch putty knife. Let each coat dry fully before adding the next. Sand lightly between coats and again after the final one. Prime before painting so the patch does not show through as a dull spot.
Fix a running toilet
Lift the tank lid and observe the fill and flush mechanisms while the toilet runs. Most running toilets trace to one of three parts: a worn flapper, a faulty fill valve, or an improperly set float. Replace the flapper first since it is the most common cause and the simplest fix. Turn off the water supply at the shut-off valve behind the toilet, flush to drain the tank, unclip the old flapper from the overflow tube pegs, and snap the new one in place. Restore water and check for a seal.
Recaulk a bathtub or shower
Cut out all old caulk using a plastic caulk remover tool or a utility knife held at a shallow angle. Clean the joint thoroughly with rubbing alcohol and let it dry for at least an hour. Tape both sides of the joint with painter's tape for a clean line. Apply a thin, continuous bead of tub-and-tile caulk (100% silicone or a siliconized latex formula), then smooth it with a wet fingertip in one continuous pass. Remove the tape immediately while the caulk is still wet. Allow the full cure time listed on the tube before using the shower.
Replace a door sweep
Door sweeps seal the gap between the door bottom and the threshold, blocking drafts and pests. Remove the old sweep by unscrewing it from the door face or sliding it off the door bottom, depending on the style. Measure the door width and cut the new sweep to length with a hacksaw if needed. Screw it in place so the flexible fin just contacts the threshold when the door closes. Test by closing the door and checking for light gaps at floor level.
When to stop and call a professional
Two signs that a repair has moved beyond DIY territory: the scope grew when you opened the wall or floor, or the fix requires a permit your municipality requires a licensed trade to pull. If you find mold behind drywall, black or charred wire insulation, standing water under a subfloor, or a crack pattern that has changed since you last looked, stop and call a licensed contractor.
The same logic that applies to knowing your limits at home applies in other contexts. Knowing what is safe to do yourself versus what needs a professional is a repeating theme across home and pet care alike. The cost of a service call is almost always less than the cost of fixing a mistake that has cascaded.
If your repair touches the exterior and you want to address appearance at the same time, low-cost curb appeal improvements can help you coordinate small fixes with cosmetic updates without spending much.